Project: Redesigns of the CIO, CSO, and Computerworld homepage and header (and later, InfoWorld and Network World) as part of adding international editions to IDG’ in-house CMS.
Date: 2018-2019
Involvement: I was one of two front-end developers working on this project. Based on comps from our UX team (Zach Sullivan and James Kocik) and requirements from product manager Galen Gruman, I architected the homepage and header markup that would be shared across all brands, and built out the CIO, CSO, and InfoWorld redesigns myself. My teammate Joan Joly implemented the design on Computerworld and Network World using the markup I had laid out, and also masterminded the JavaScript behind the “edition picker.” Back-end work was courtesy of Jim Hutson, Sagar Patade, and the Webnish team in India.
Description: In 2018 IDG made the decision to bring many of its international websites onto our in-house, custom-built CMS, which already powered most of the US brands. These international brands would no longer be standalone sites; instead they would be “editions” of their core brand. (So, for example, CIO Asia became CIO’s ASEAN edition). This was a project termed “OneCMS.”
As part of this, a redesign of many brands’ homepages and header/navigation was necessary, as they would now need to display different content based on the edition the user chose, and much of that content would need to be slotted in our CMS by non-technical users.
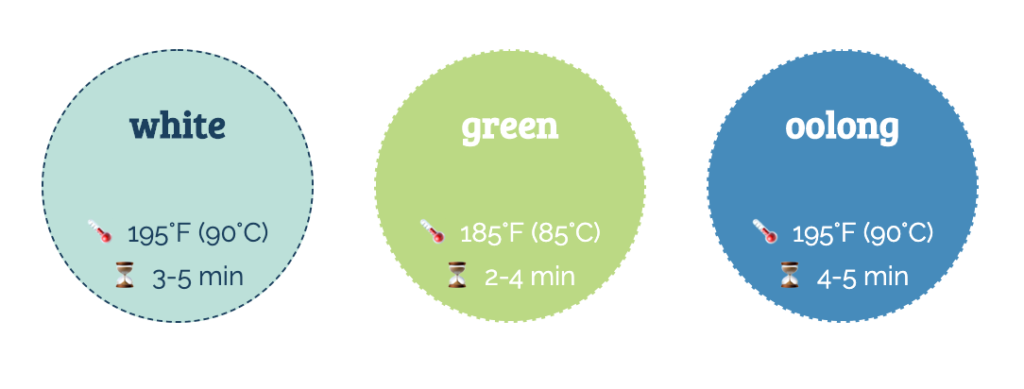
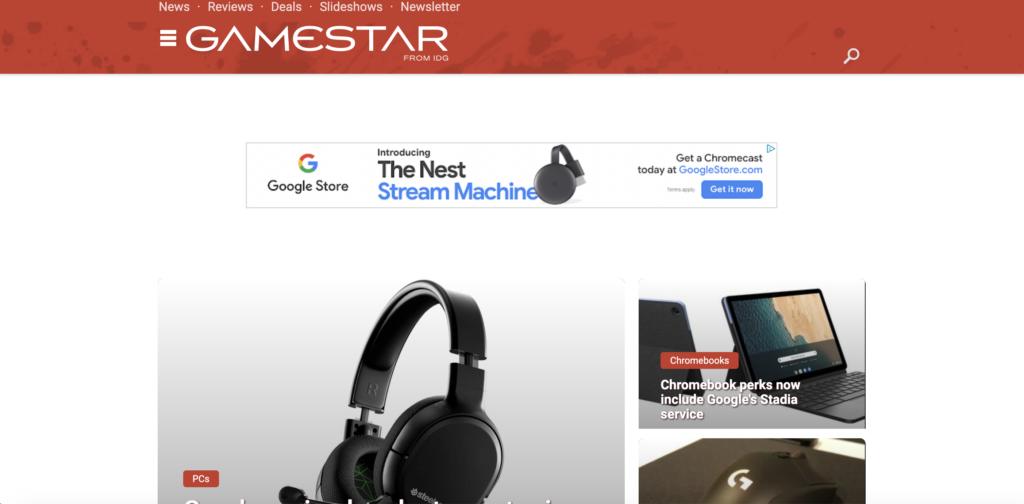
Additionally, we wanted to move away from the model whereby each IDG brand had its own homepage markup, even though much of the code was duplicated across brands. Instead we wanted a shared homepage, where we could use the same markup for each brand, but “theme” it using its own CSS.
I was the principal front-end resource for CIO, the first of the brands to undergo the OneCMS experiment. I used this as an opportunity to set the tone for the project front-end, architecting the core structure of the new homepage and navigation according to the principles of Don’t Repeat Yourself and Separation of Concerns. I wrote most of the new markup, using a mix of HTML and JSTL (the templating language used by Java Servlet Pages).
As mentioned, a good chunk of the individual branding was accomplished through the good ol’ fashioned CSS cascade. But there were some things we couldn’t reskin with CSS alone, such as text content. (For example, each site has a different name, tagline, and list of footer links; these would not differ by edition). My organizing principle for this content was to use each brand’s “properties” file — an XML file containing brand-specific information, such as tagline, links to the logo images, social media info, API keys, etc — for anything that could not be shared between sites. While updating the properties file did require a code release, this seemed acceptable for content that would not change often.
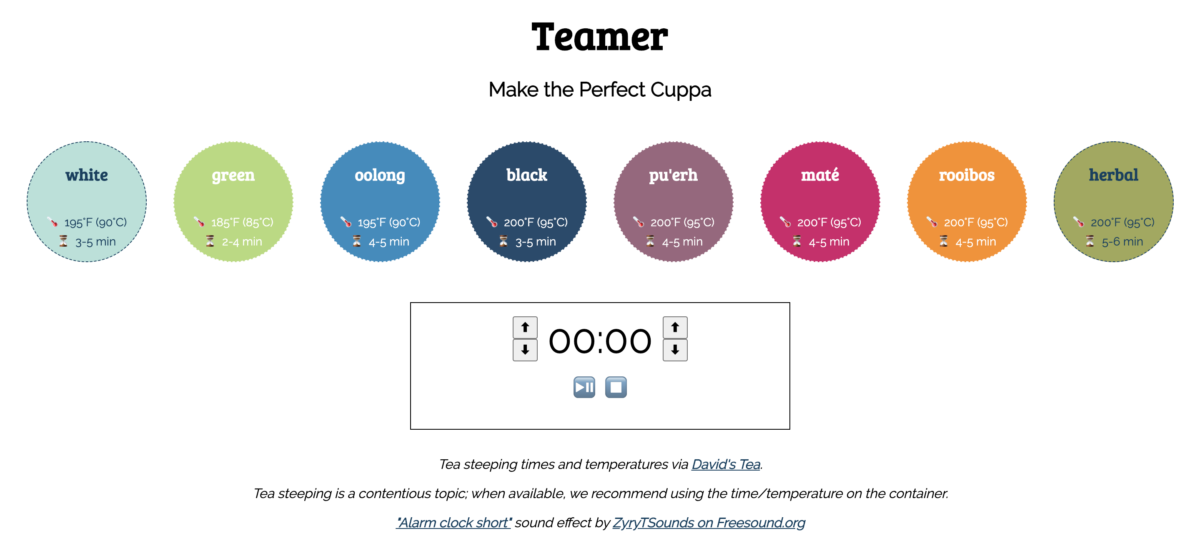
We built the new homepages in parts, so let me discuss each one individually:

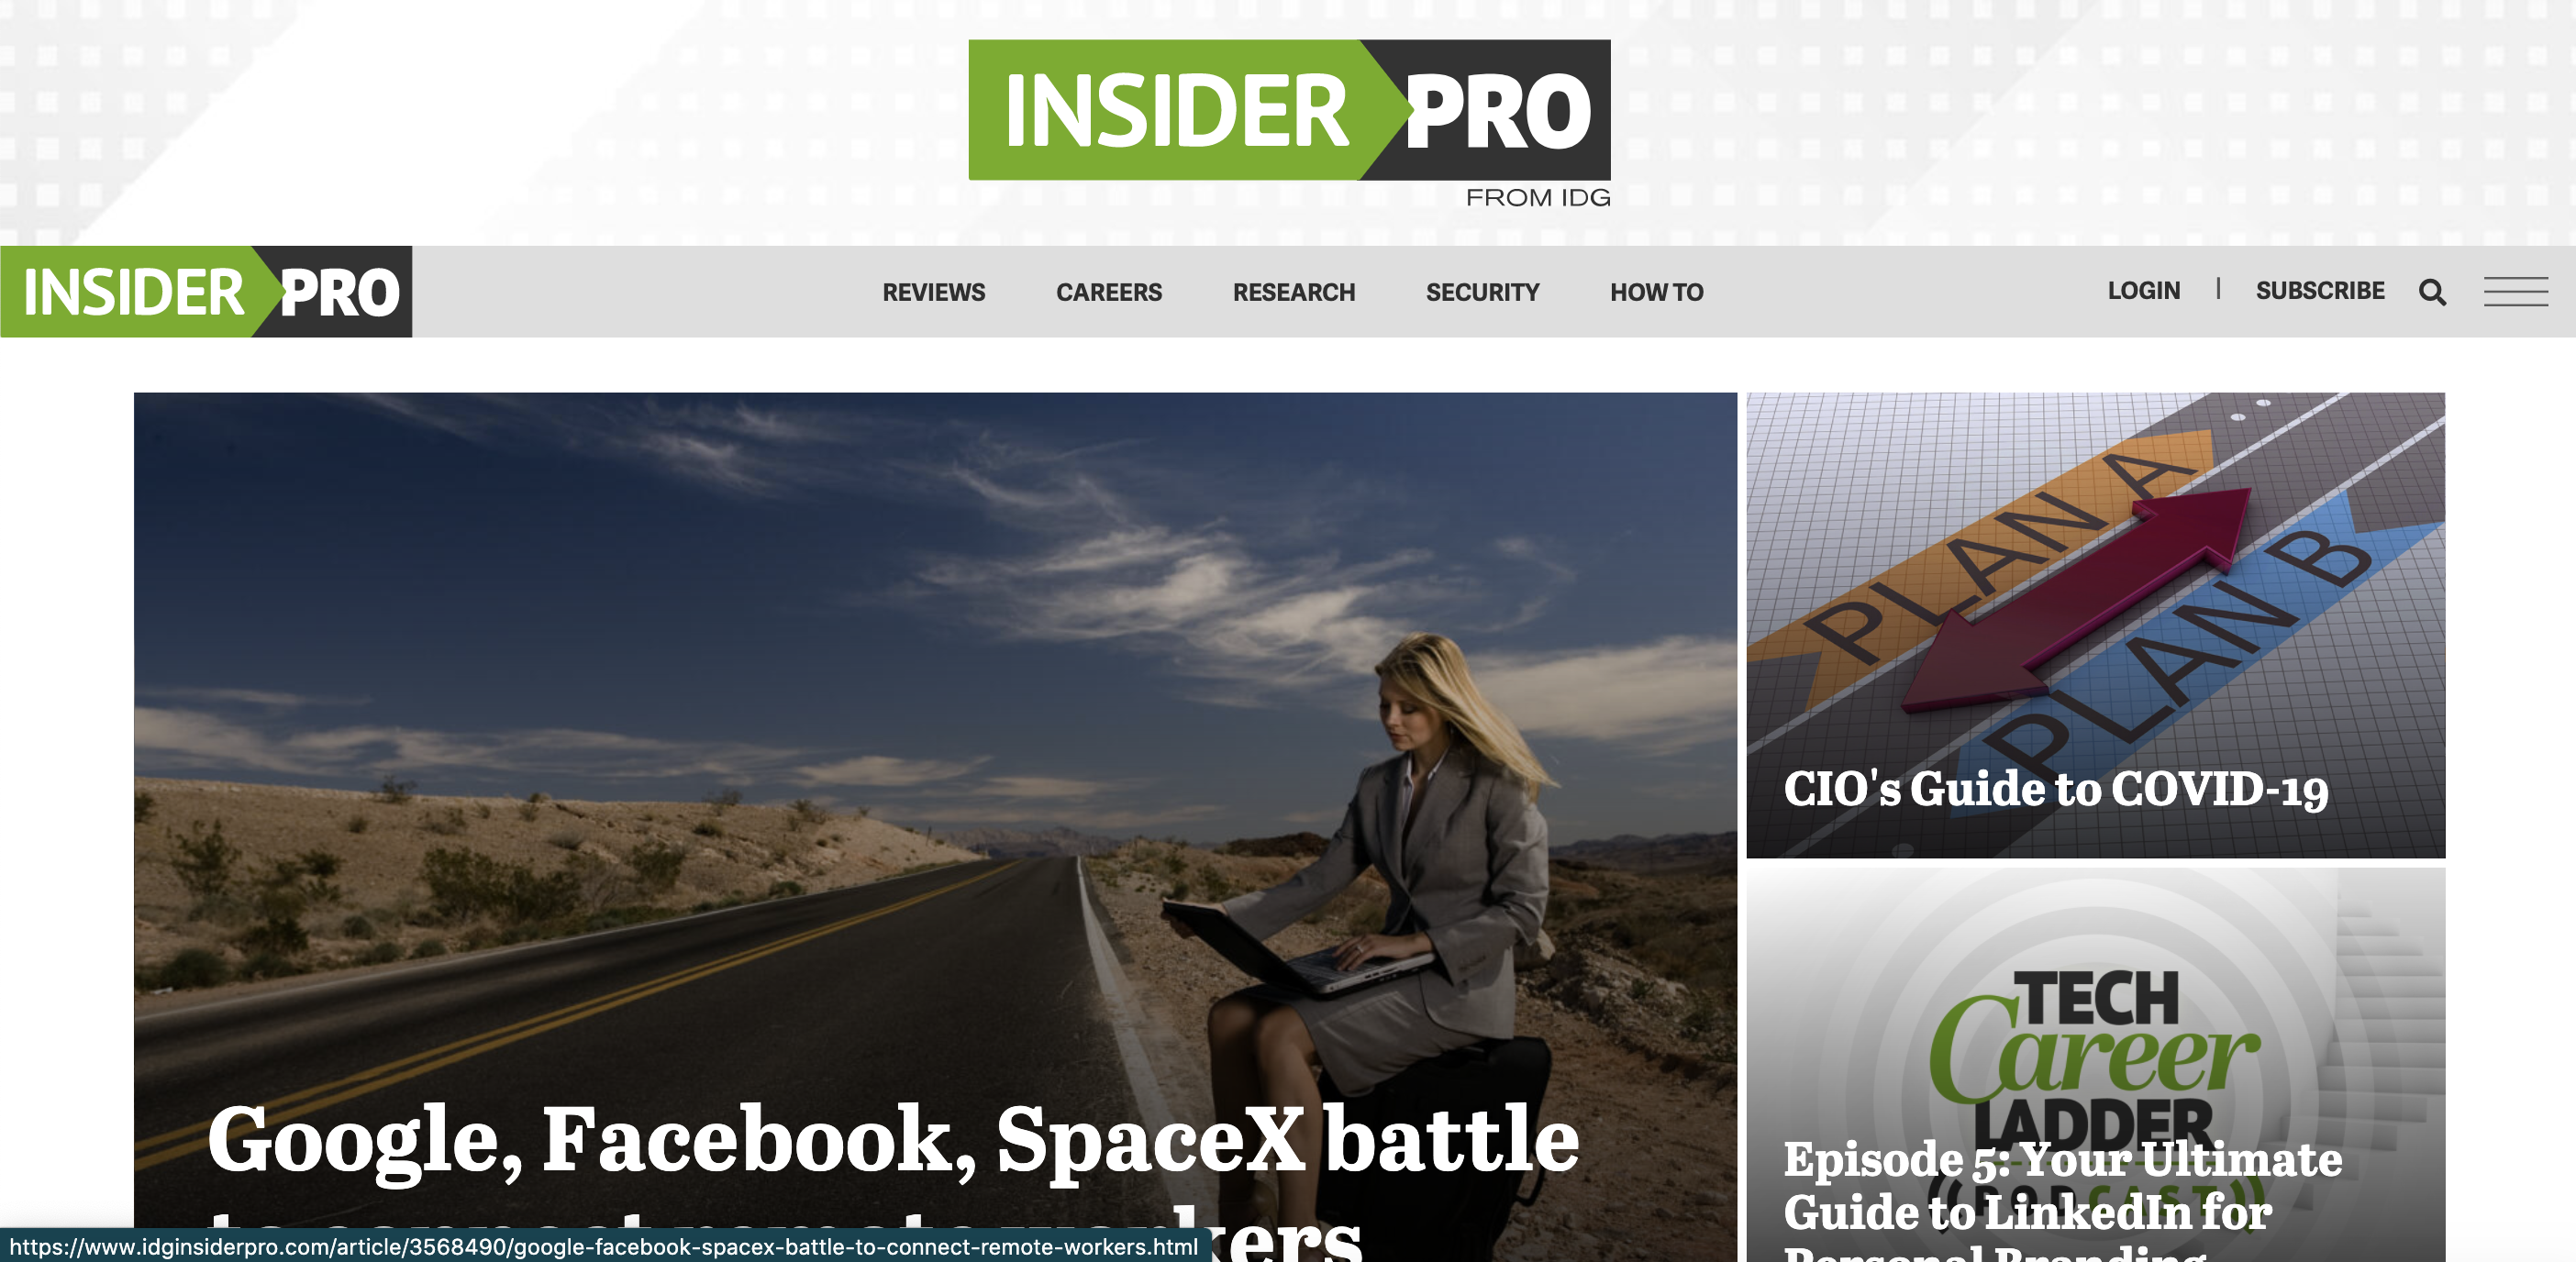
Homepage nameplate: this sits above the primary navigation, displaying the brand’s logo and a coordinating background image, color, or color gradient. It is only displayed on the homepage, and not any inner pages of the site. It is also not displayed at the mobile breakpoint.
This was the first part of the new homepage I built, and I was still figuring out what I could handle in the CSS vs. what I needed the properties files for, so this is built such that the logo, background image, background color, and background gradient (optionally) are set in the properties files, and inserted into the page as JSTL variables. While the logo pretty much has to work this way, as it’s inserted as an <img> tag, the other properties could have been done with CSS alone. This is a change I would make if I had to refactor this, in the interest of not having to interpolate JSTL variables into a <style> tag (which breaks the principle of Separation of Concerns).
The logo also needed to be able to adjust to a range of browser widths without a loss in fidelity, so we used lossless SVG files and percent widths rather than static pixel values. Since the nameplate is not used on the mobile view of the site, we only load the large SVG at tablet widths or higher. (This is accomplished solely with CSS media queries; no JS is necessary).
Finally, the nameplate uses the relatively new position:sticky CSS declaration. This allows the primary navigation to appear to move over it as the page is scrolled.

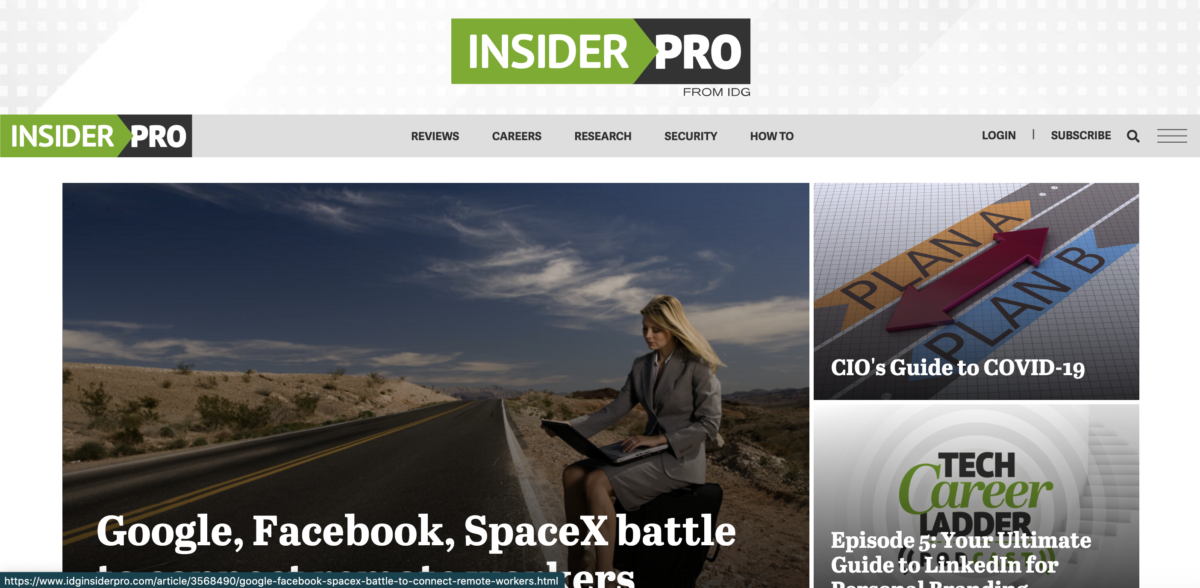
Primary navigation on CSOonline.com 
Primary nav, mobile view, CSOonline.com
Primary navigation:
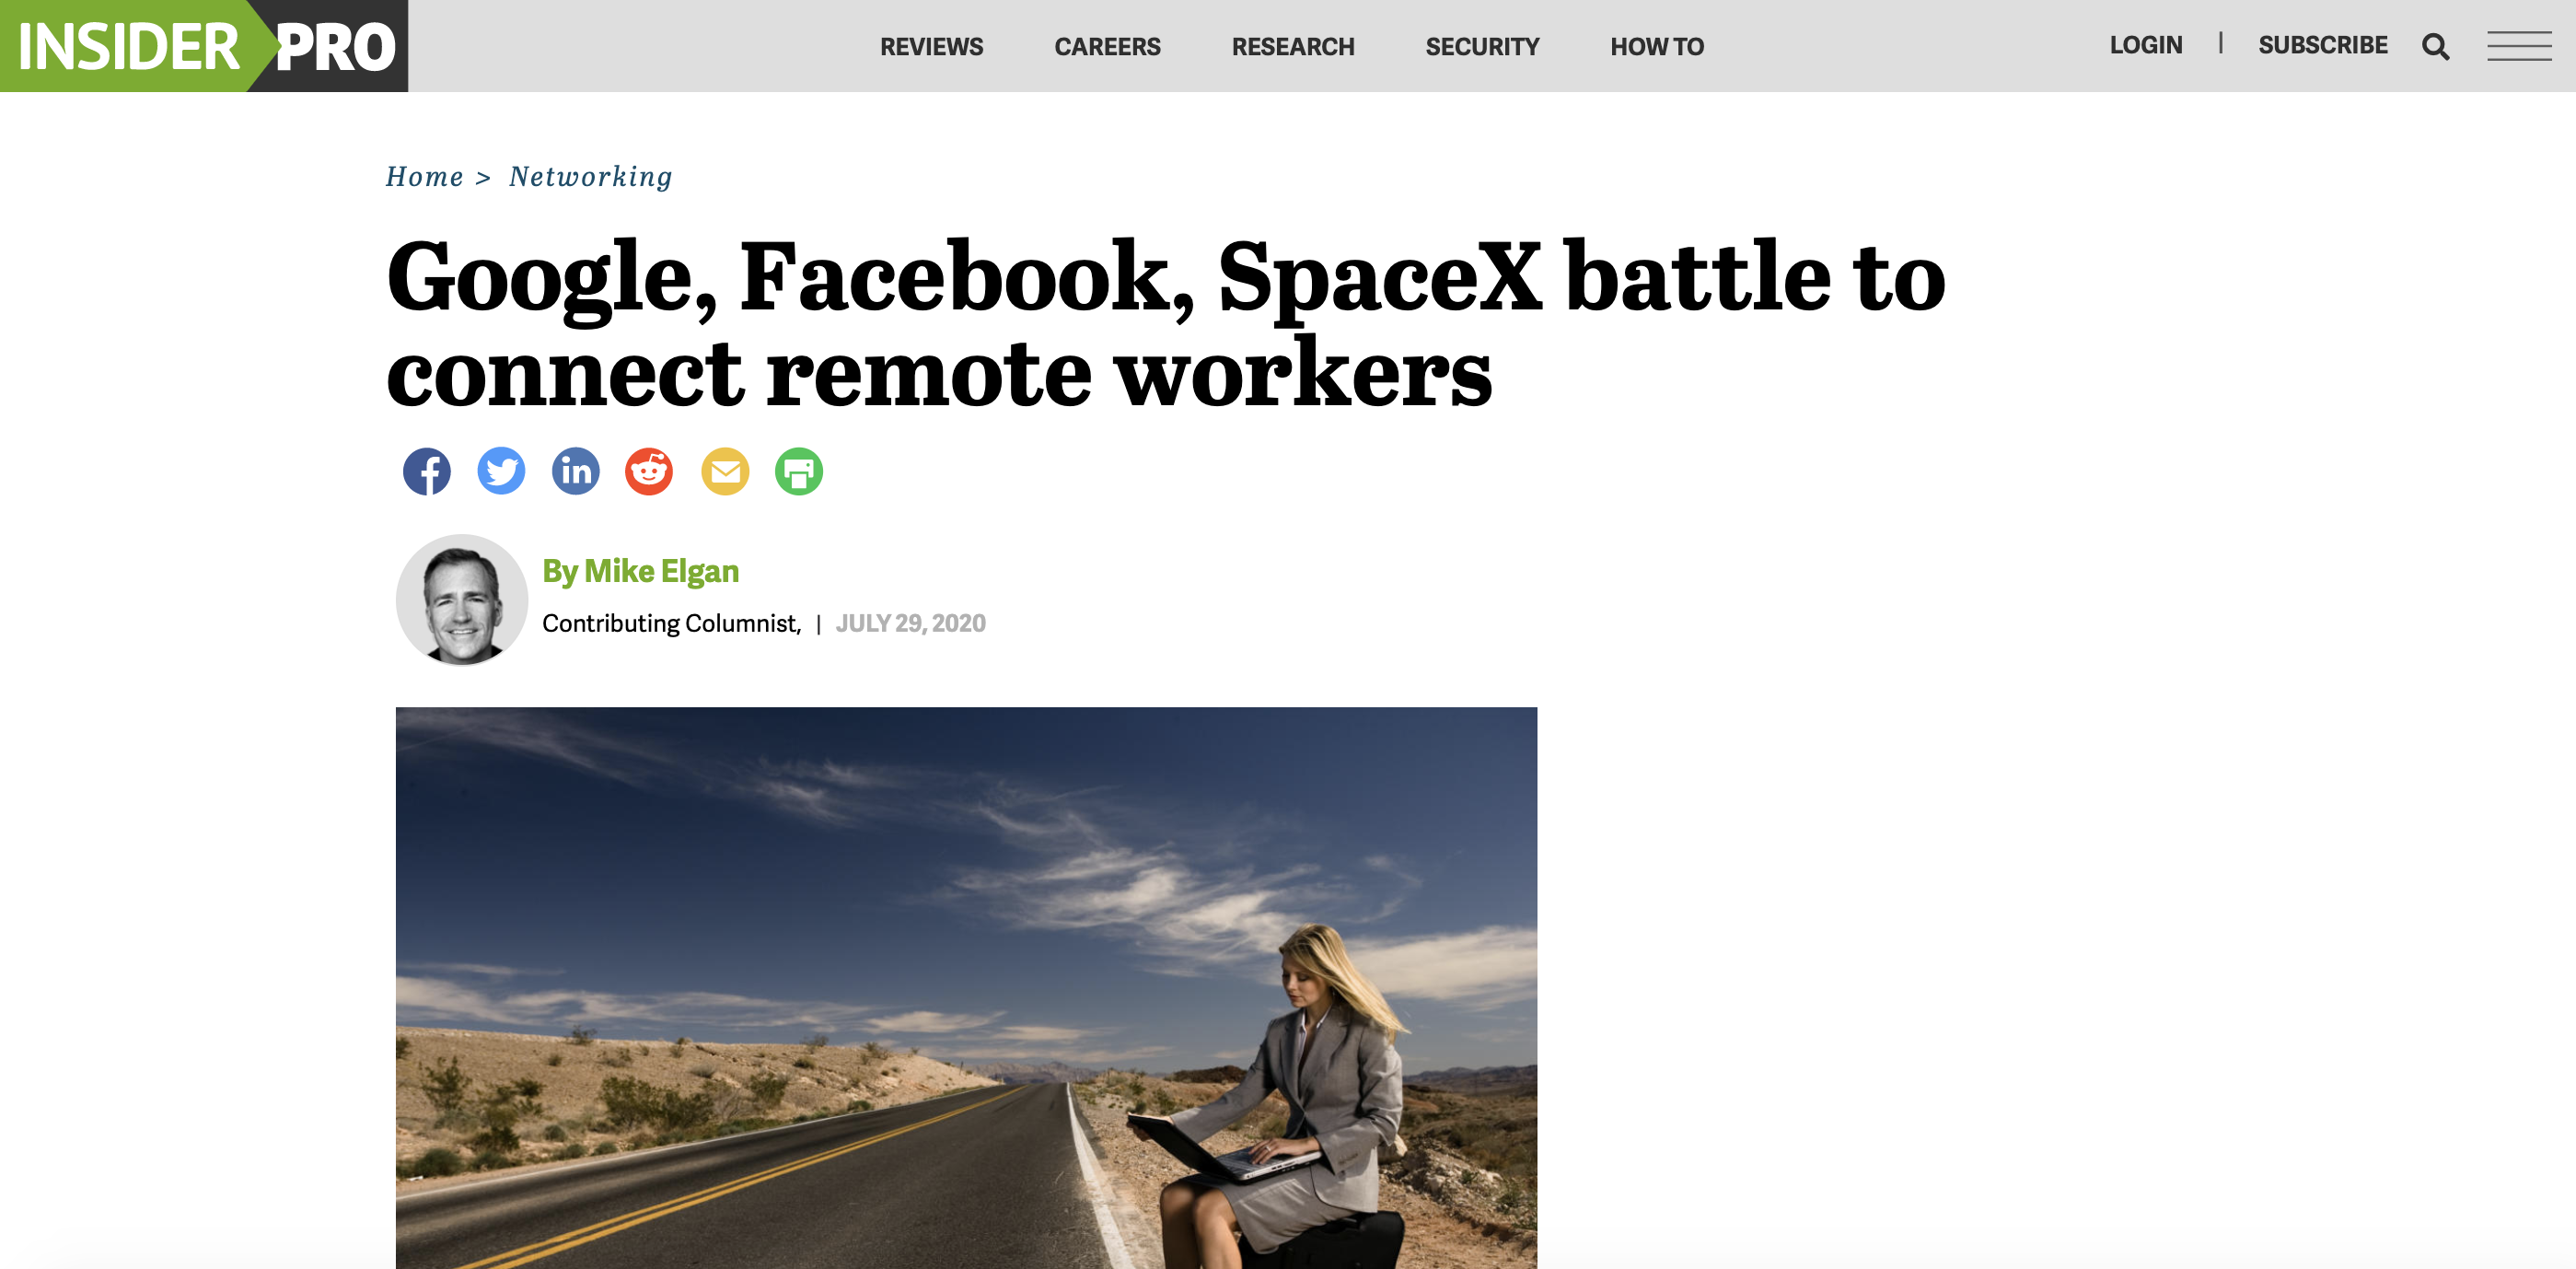
The primary navigation on OneCMS brands sits between the homepage nameplate and the main content of the page when the page is loaded. As the user scrolls down the page, the nav covers the nameplate above it, and eventually fixes at the top of the viewport.
At desktop breakpoints, the primary navigation displays the site logo, the edition picker, Insider login/registration controls, a button to open the megamenu (see below), a button to expand the search window, and a menu of site- and edition-specific links. At tablet breakpoints, the links are dropped; at mobile breakpoints, only the logo, edition picker, and megamenu button remain.
The Insider controls are designed so that a logged-in user will see different content from a logged-out or unregistered user. This is done by setting an Insider cookie whenever a user logs in, which is read when the page is first loaded.
Megamenu:
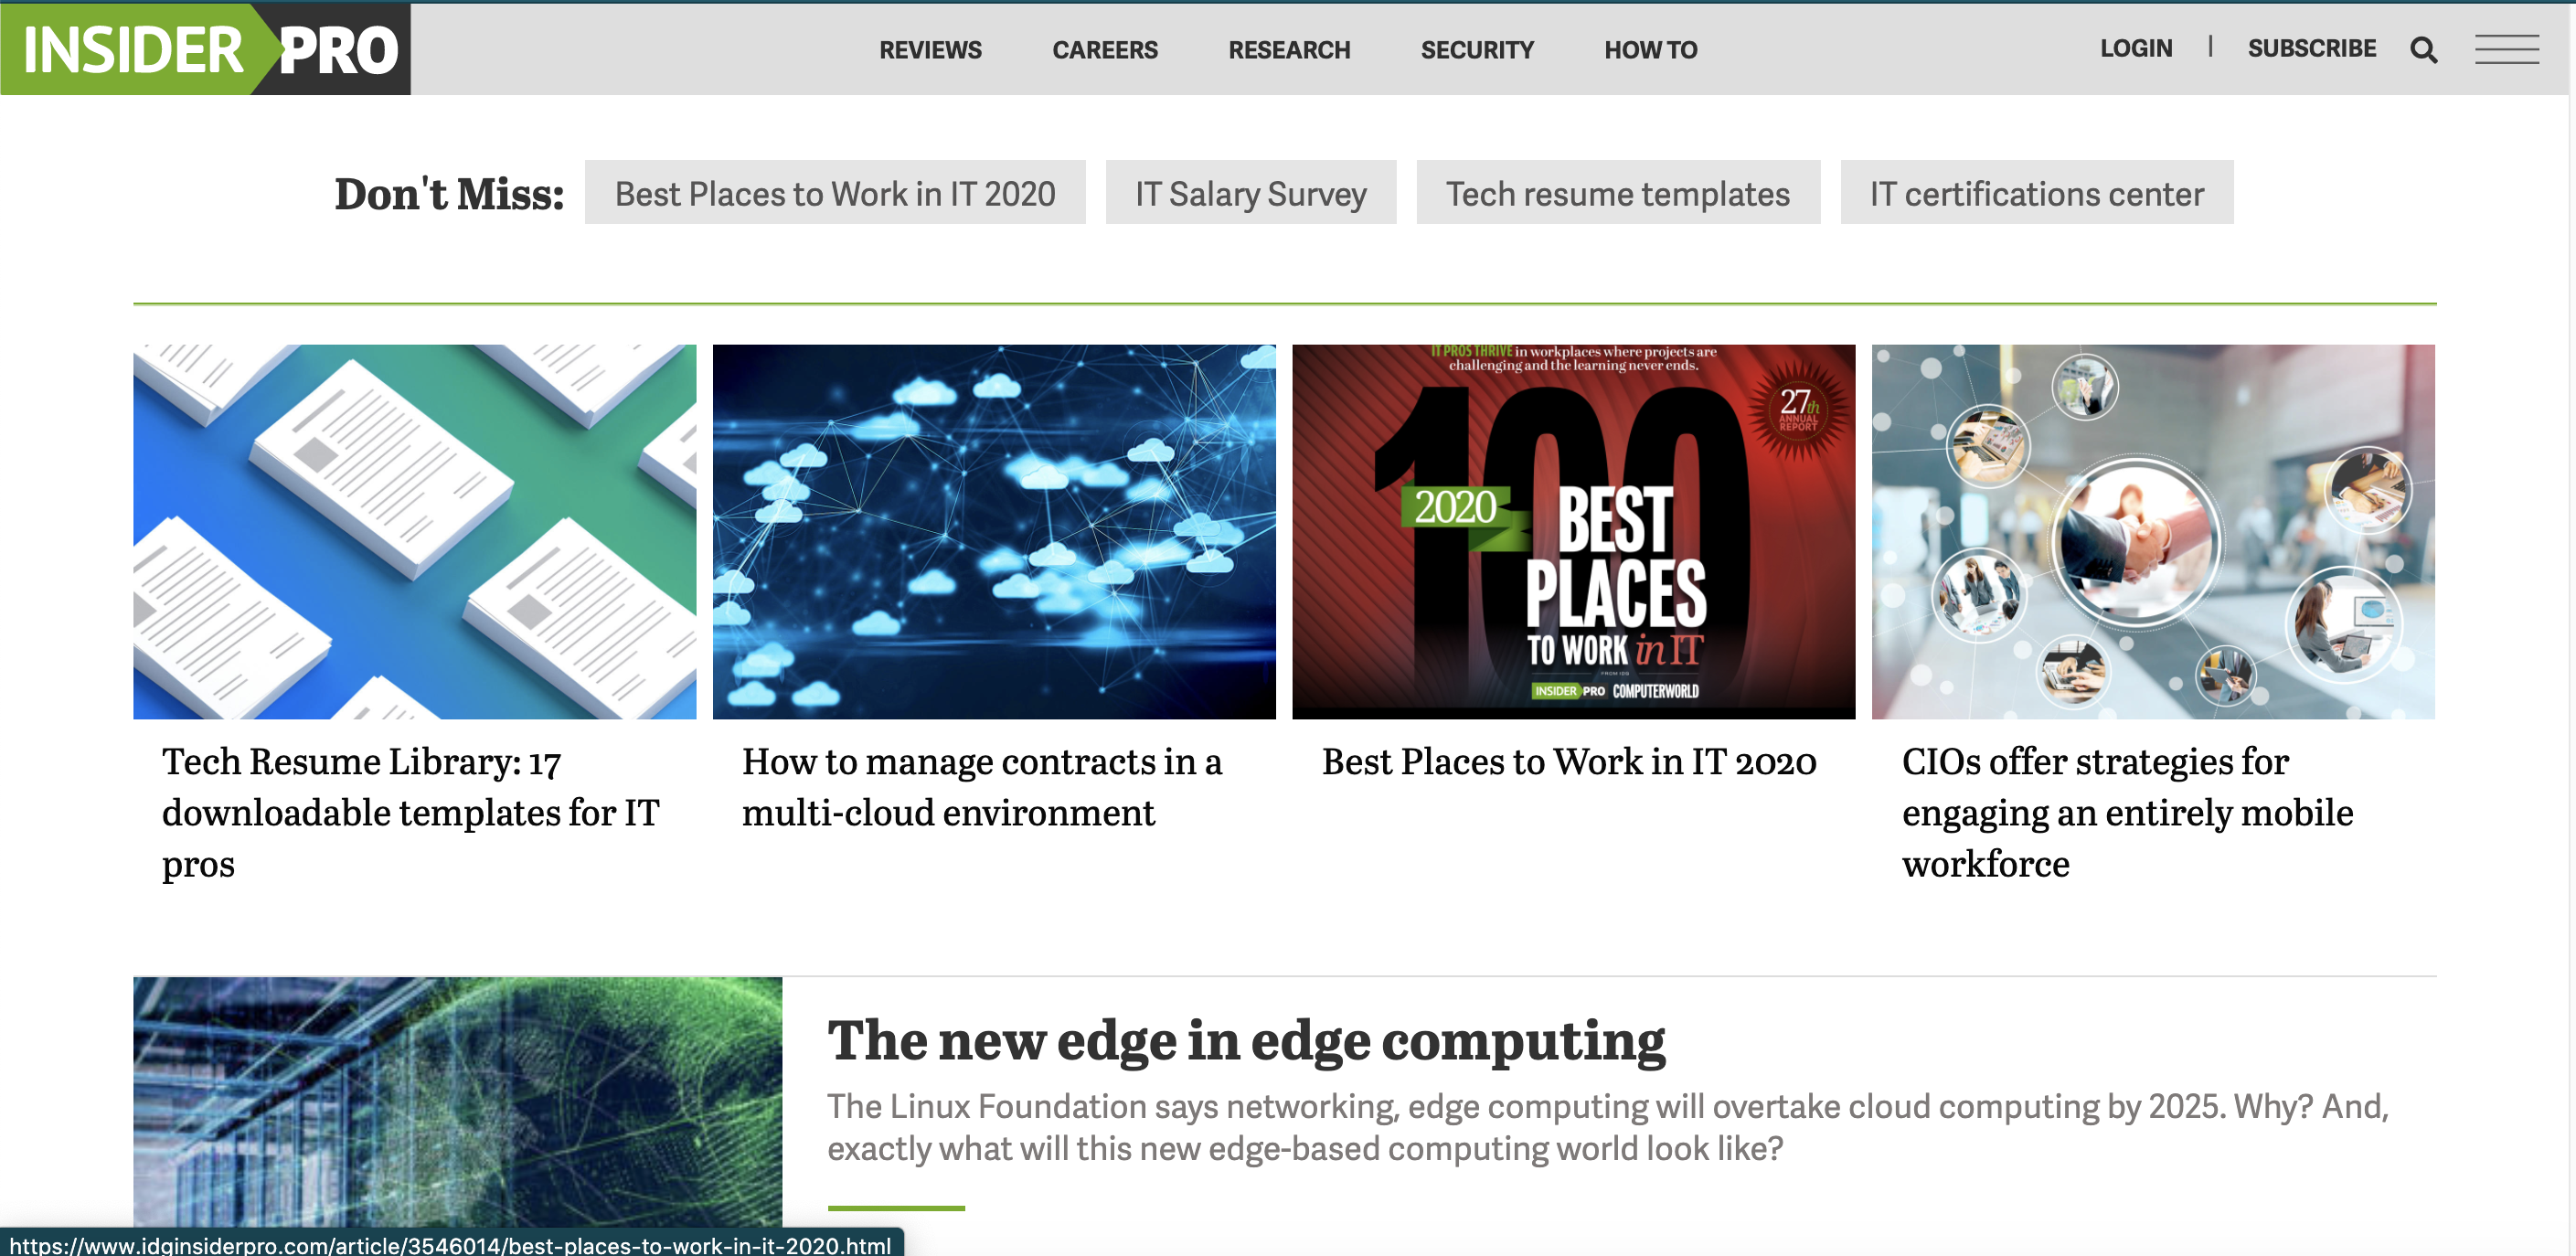
Top Stories:
Trending bar:
Top Stories Promo:
Editorial promos:
“Crawl” (Content List):
Sponsored Content Promo:
Resources module:
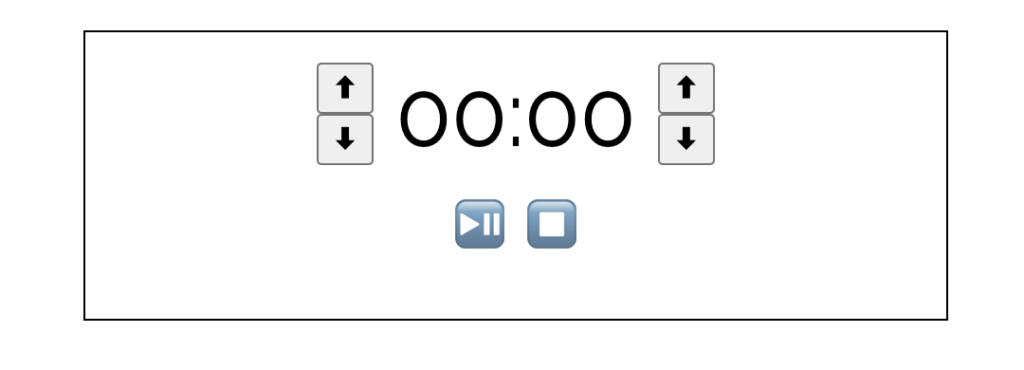
Ordering: Since the entire homepage is built using Flexbox, we are able to take advantage of the order property on Flexbox items in order to change the order of elements on the page without affecting their order in the DOM. This was useful because we wanted to allow editors to reorder content on the page.
While a great idea in theory, it worked less well in practice, due to a few concerns. One was that we lacked a UI for editors to change the order of elements on the page, and didn’t have the resources to build one out. So we had to resort to a raw HTML slotting module where they would actually have to tinker with the CSS to change the value of the order property. While every attempt was made to make this user-friendly, in the end the decision was made that we would hide the ordering slotting module from editors, only to be touched by Engineering and UX.
The second concern was simply that, if an order property is not explicitly set on a flex element, it defaults to zero. Elements with 0 weight are sorted by their order in the DOM. The only negative value for order with any meaning is -1; every other negative number is treated as a -1. This meant that either every element had to have an explicit order property, or it basically displayed in DOM order. Since the editors would be setting only the weight of individual elements — not every one on the page — this meant we had to set the order property explicitly in the codebase. Setting an order property for every element on the page in CSS was tedious, and ended up causing some unexpected results. (The order of the elements on the current websites is not entirely as designed!)
Technologies: Front-end: HTML, JSTL, CSS (including Flexbox), JavaScript, JQuery, responsive web design, micro-interactions/animations. Back-end: Java, JSP, Struts, running our custom in-house CMS.
Status: I no longer maintain this, but the sites are still live and using the same design and code, for now.