As I promised back in Into the Shadowvale, I’m going to share the details of my character Melusina’s costuming. Mostly for the benefit of Fair Escape 😉
Costuming for this game was fairly simple, in that I made exactly nothing. I am coming to realize that while I enjoy putting together costumes, I rarely enjoy sewing. Thankfully I am at a point in my life where I can just throw money at the problem.
That said, there were a lot of moving pieces, and I’d like to give a nod to all the vendors who made it possible.
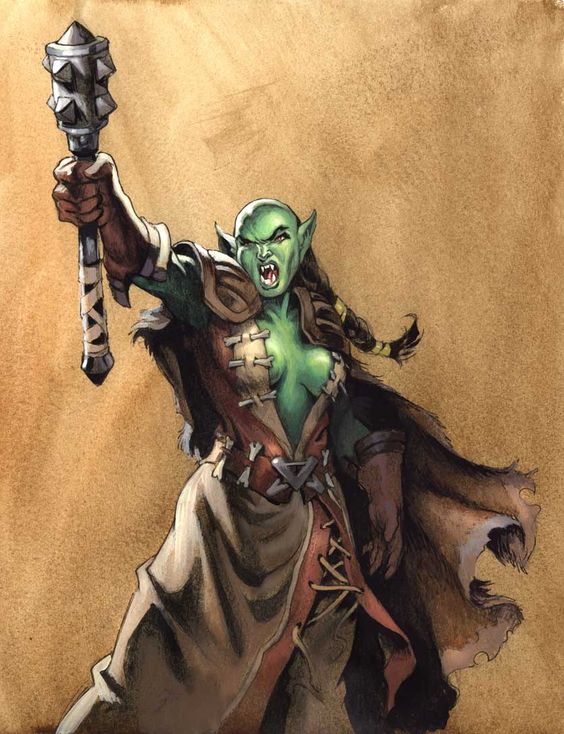
Here’s Melusina again, for visual reference. I realize that ALL BLACK ON BLACK is an aesthetic that’s hard to photograph, so I’ll add some pictures of individual items, too.

Let’s start from the top, shall we?
Headwrap: is a lightweight black scarf I found at Savers. I tie it behind my head, and roll one end into a turban (thanks, Shadows of Amun, for teaching me how to do that!), leaving the other to hang. I may do something different in hotter weather; we’ll see.
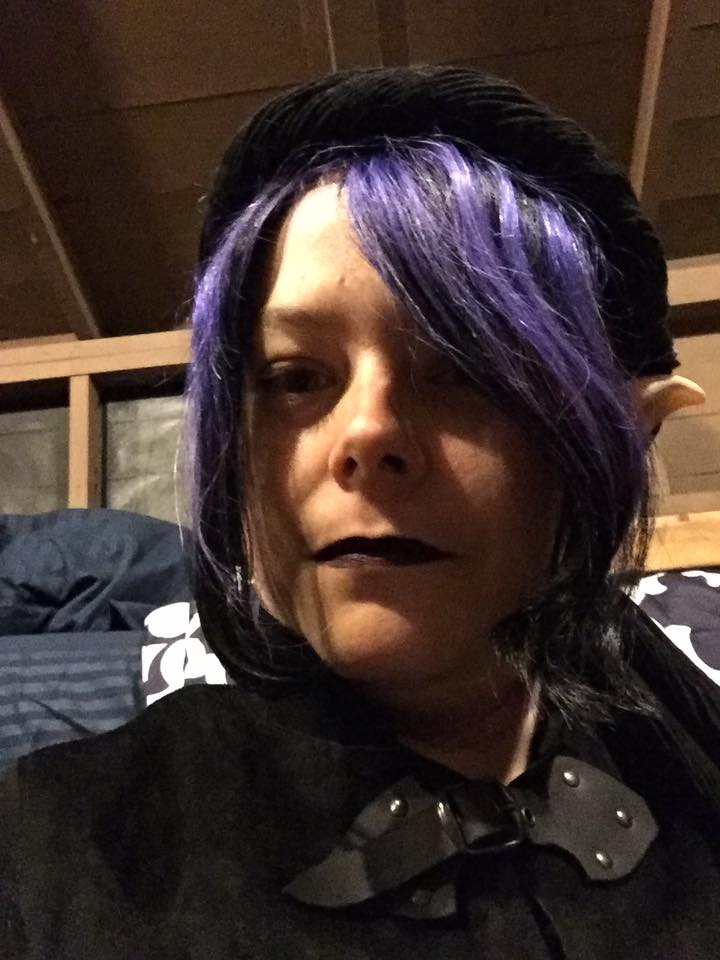
Hair: Shadowborn are said to have hair in colors of purple or red. I knew I didn’t want to wear a wig, so hair pieces and falls of various sorts seemed the best idea. Thus I opted for these deep purple/black bangs from Damnation Hair.
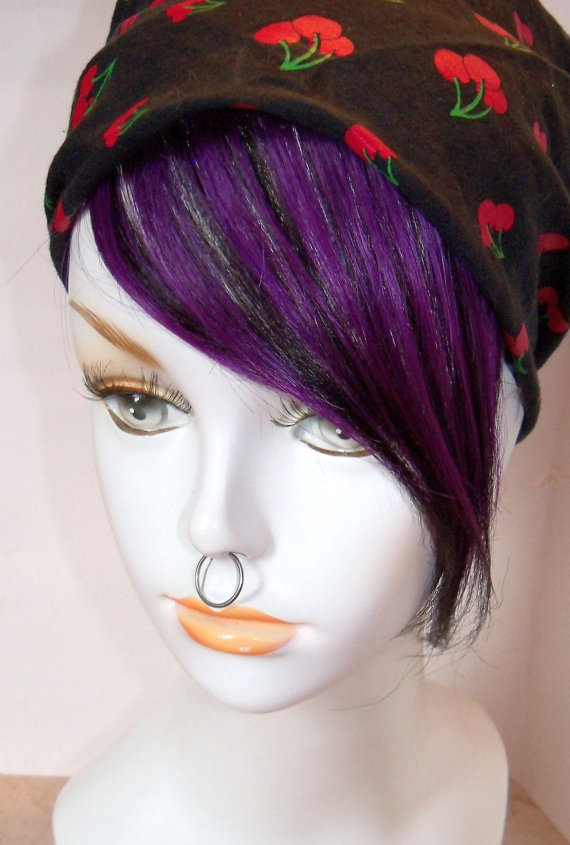
Credit: Damnation Hair
I was very pleased with this piece! (Although the matching hair falls I bought didn’t work out, for various reasons). It is human hair, which means it’s actually not unpleasant to have hanging in my face, like synthetic hair can sometimes be. The seam where the hair clips in is fairly obvious, and does need to be covered, however — hence the headwrap. I could probably make do with some sort of headband in hot weather.
Lipstick: is a matte lip paint in “Raine Fever” from Coloured Raine, the most enthusiastic cosmetics vendor I’ve ever encountered. (Putting in an order prompts a mailstorm of “wow, we’re so excited to serve you!” messages). Thanks to Abrihette, who plays Samaran priestess Azar, for turning me on to this company.

Credit: Coloured Raine Cosmetics
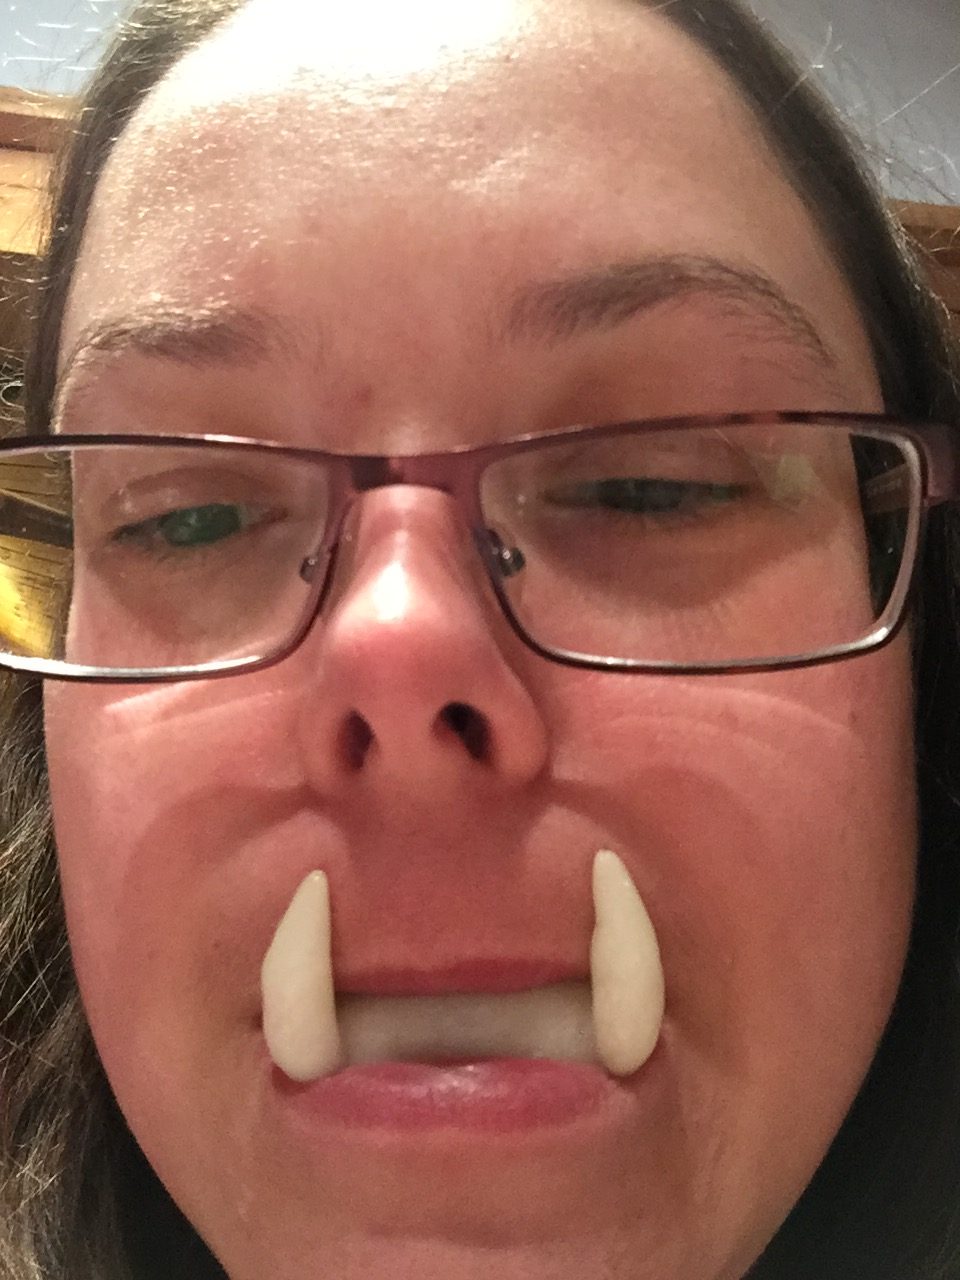
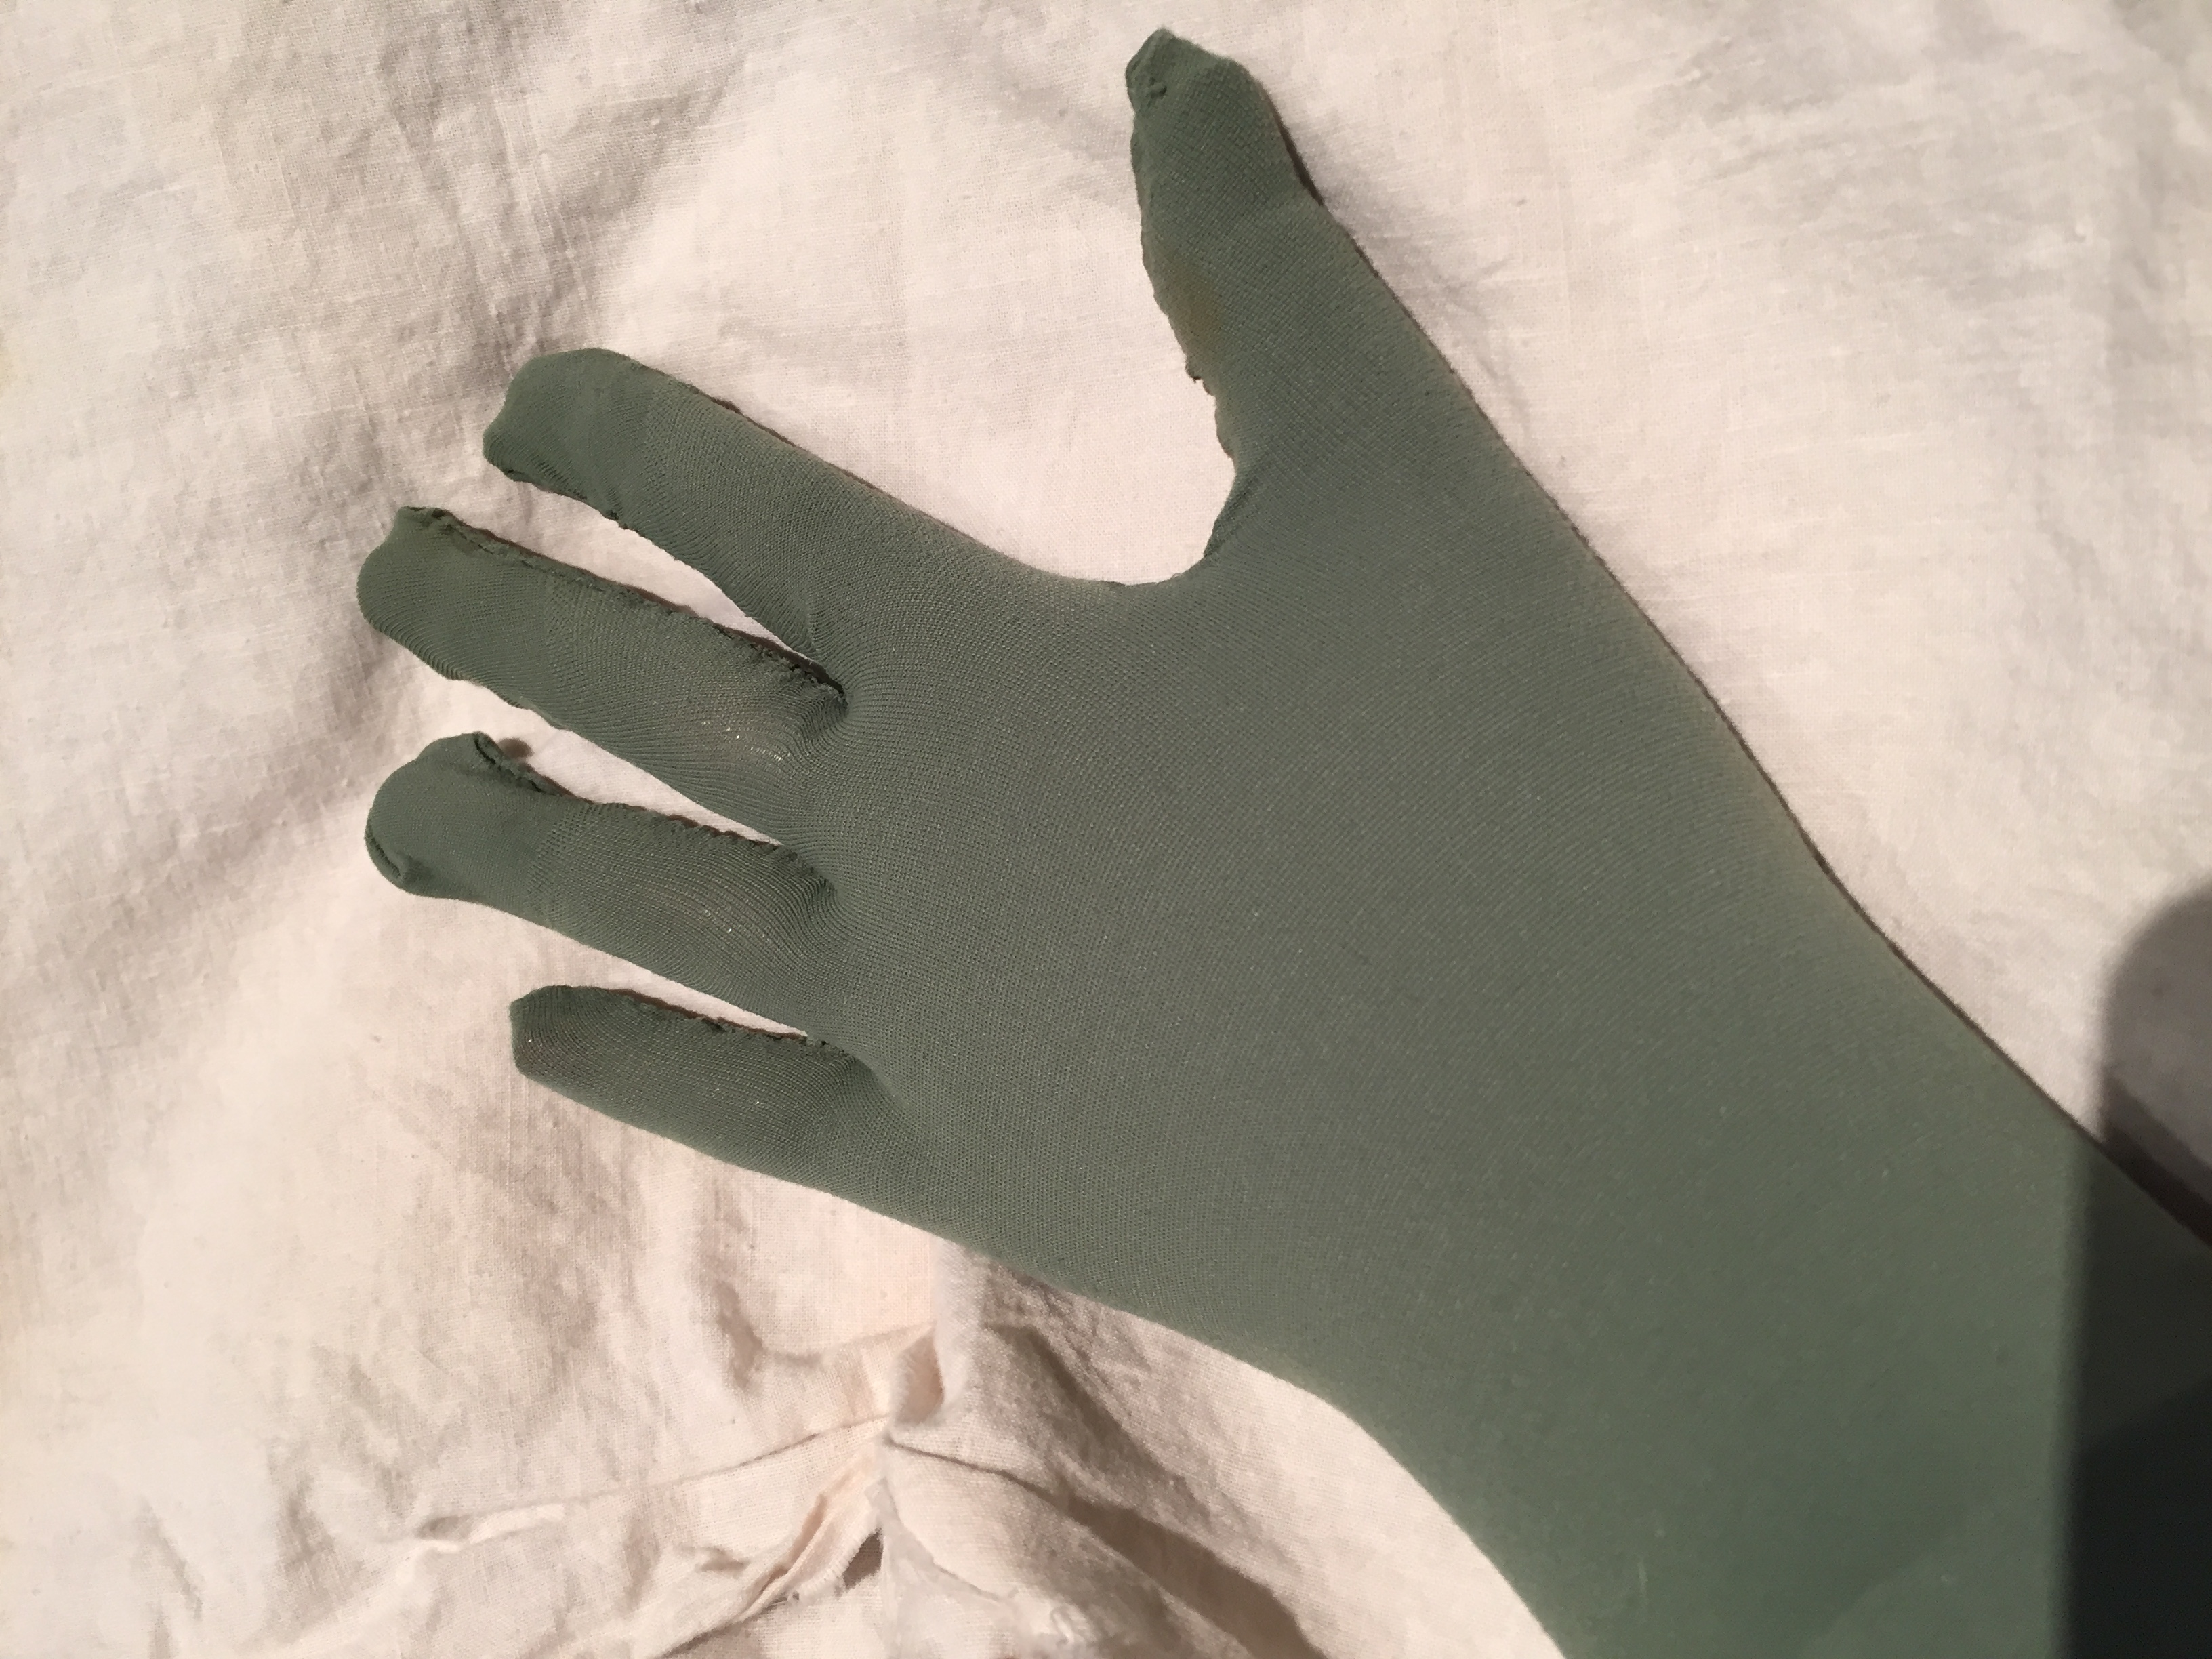
Elf ears: are custom-painted elf/hobbit/pixie ears from Etsy seller Elven Caravan. Their ears are available in a selection of colors, designed to be to matched your skin tone. They had many other ear options, too, should these ears not suit. I made a good choice as to color, if I do say so myself — I had at least one person tell me I had the “most matched elf ears” among the Faeborn. (In case you were curious, my shade of White Girl is “medium”).
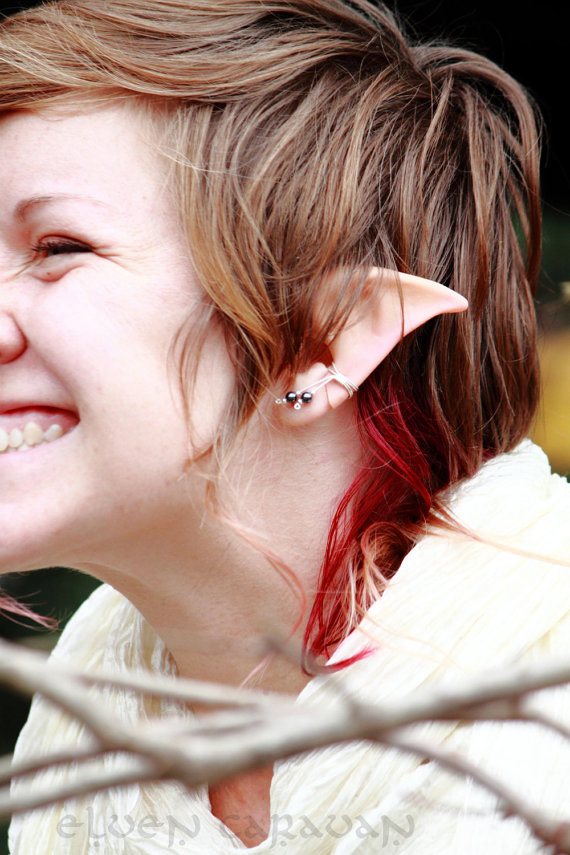
Credit: Elven Caravan
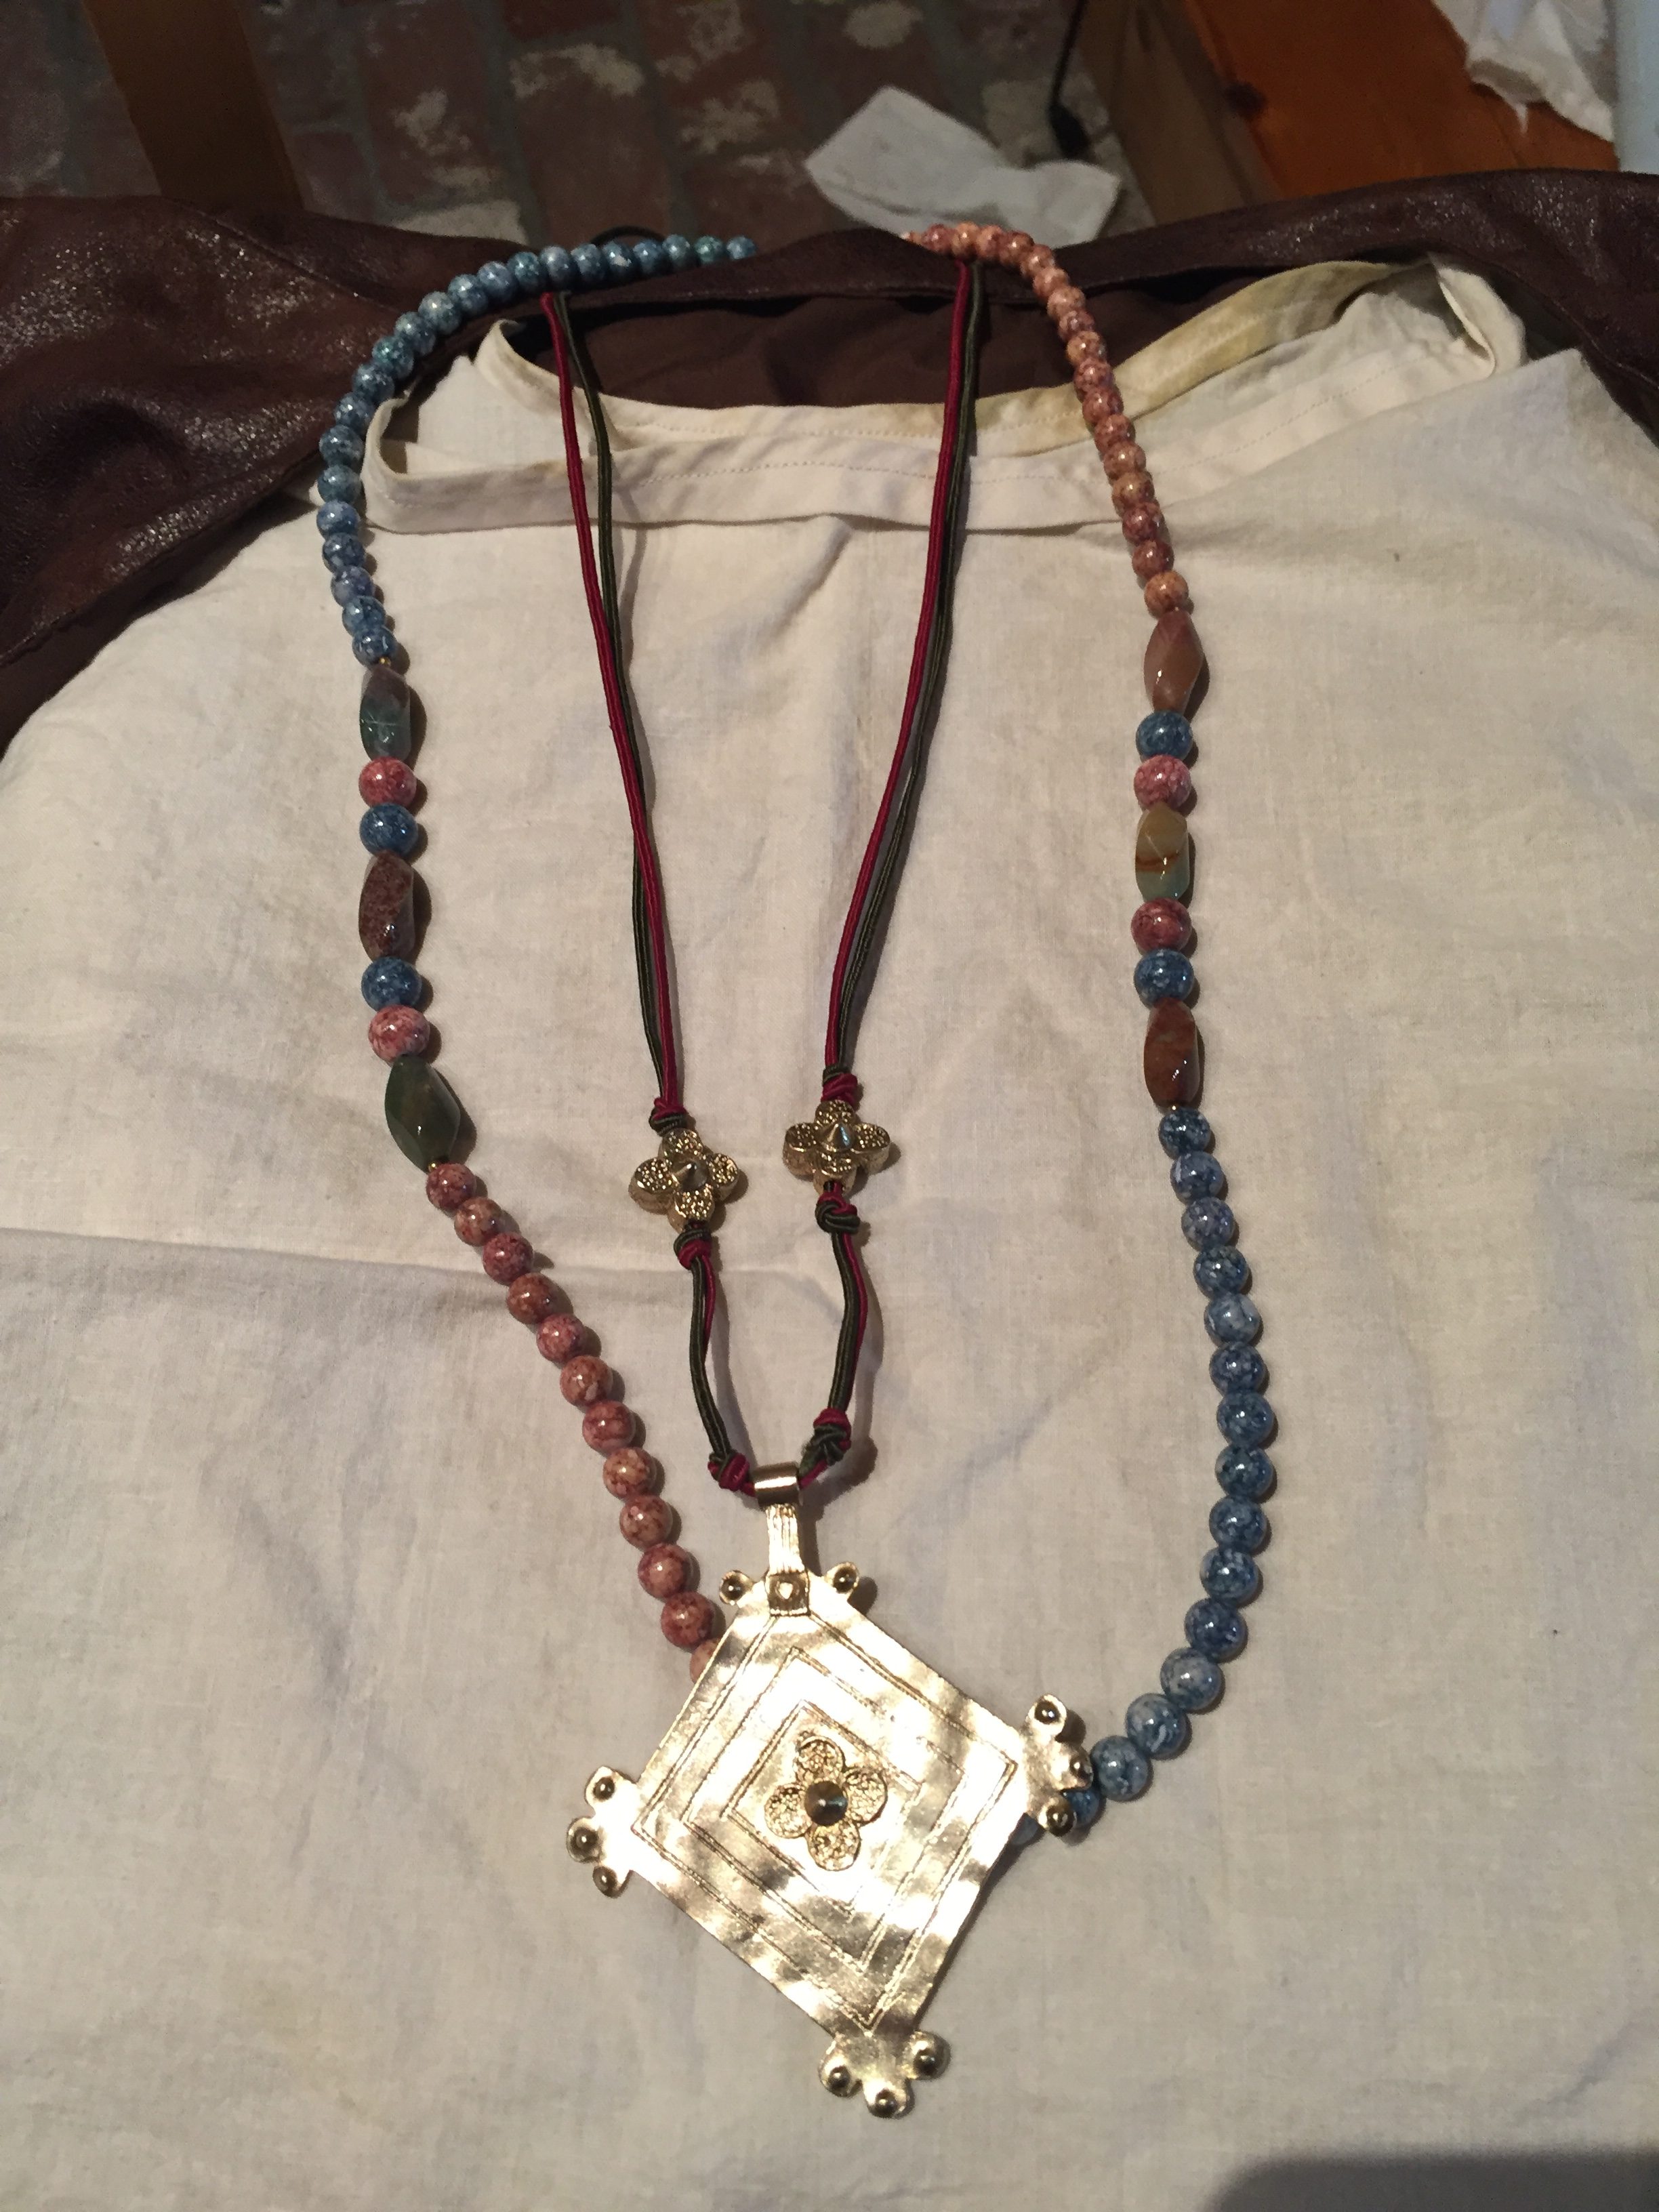
Ear cuffs: are moon and star ear cuffs from Silver Palace, a Thai Etsy seller. Ear cuffs are helpful when wearing elf ears, I learned, to hide the seam where the elf ear meets human skin.
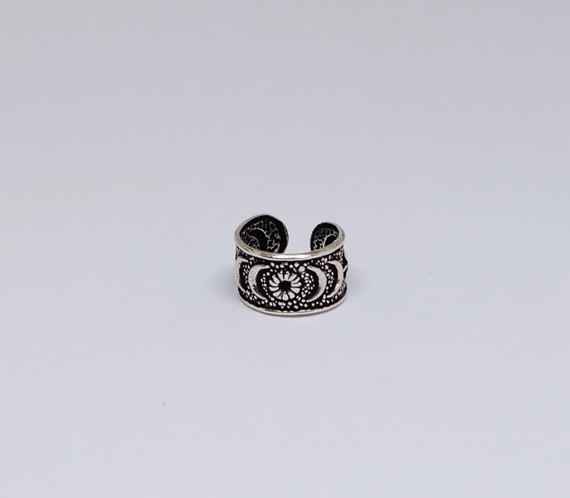
Credit: Silver PalaceTH
Contacts: Shadowborn are supposed to have violet or grey eyes. Problem: I have brown eyes. I could have just ignored this requirement, since I had other clear markers of my elf-ness, but I wanted to do something to nod in this direction. Unfortunately, since I wear prescription lenses, I found my options somewhat limited in terms of colors. (I may just not have been searching hard enough; Ashleigh, who plays Forestborn witch Lairel, had better luck finding weird prescription lenses).
I ended up ordering FreshLook Colors in Violet from 1-800-CONTACTS, which is a fairly normal sort of colored lens — you could probably get them from your optometrist. They definitely add a purple/grey cast to my eyes, but are not as dramatic as they could be. Notably, they also add a bit of a fog to my vision — not impairing, but definitely noticeable — and so required a bit of practice beforehand.
(I tried to take a picture of my purple eyes, but it’s really hard to photograph, folks!)
Here’s a headshot of Melusina, to focus on these details:
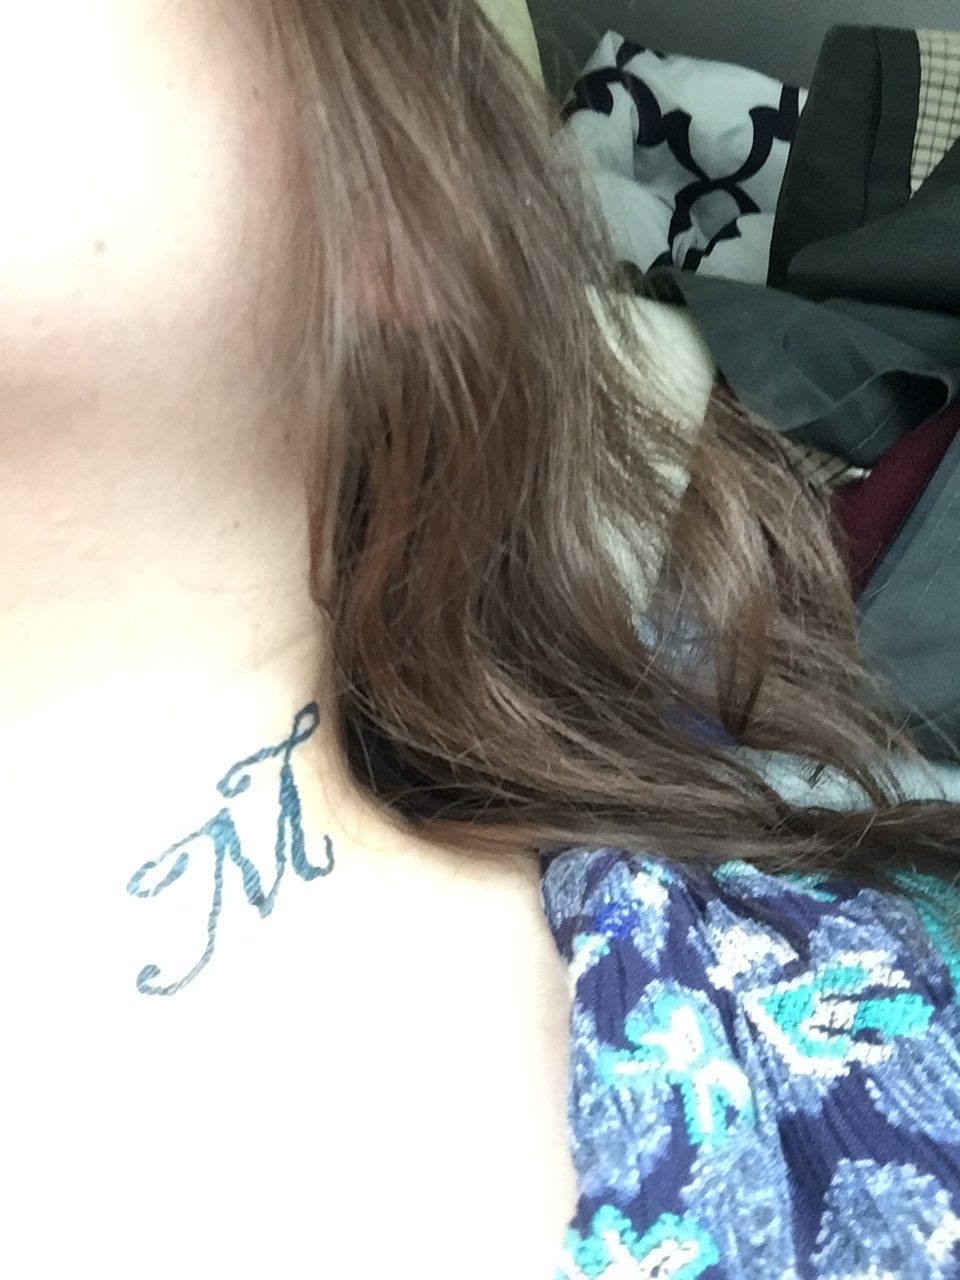
Tattoo: Melusina has, for Backstory Reasons ™, a tattoo of the letter ‘M’ on her neck. Given the armor I need to wear, this is rarely visible, but I wanted it to be there, nonetheless. Thankfully, there is such a thing as temporary tattoo printer paper. The biggest obstacle, after that, was the fact that I wanted to use was a PC-only font (Blackadder, a script font), but I needed some functions of Photoshop in order to make the sheet of tattoos, which I only have on my Mac. Much transferring of files was involved in bringing this to life.
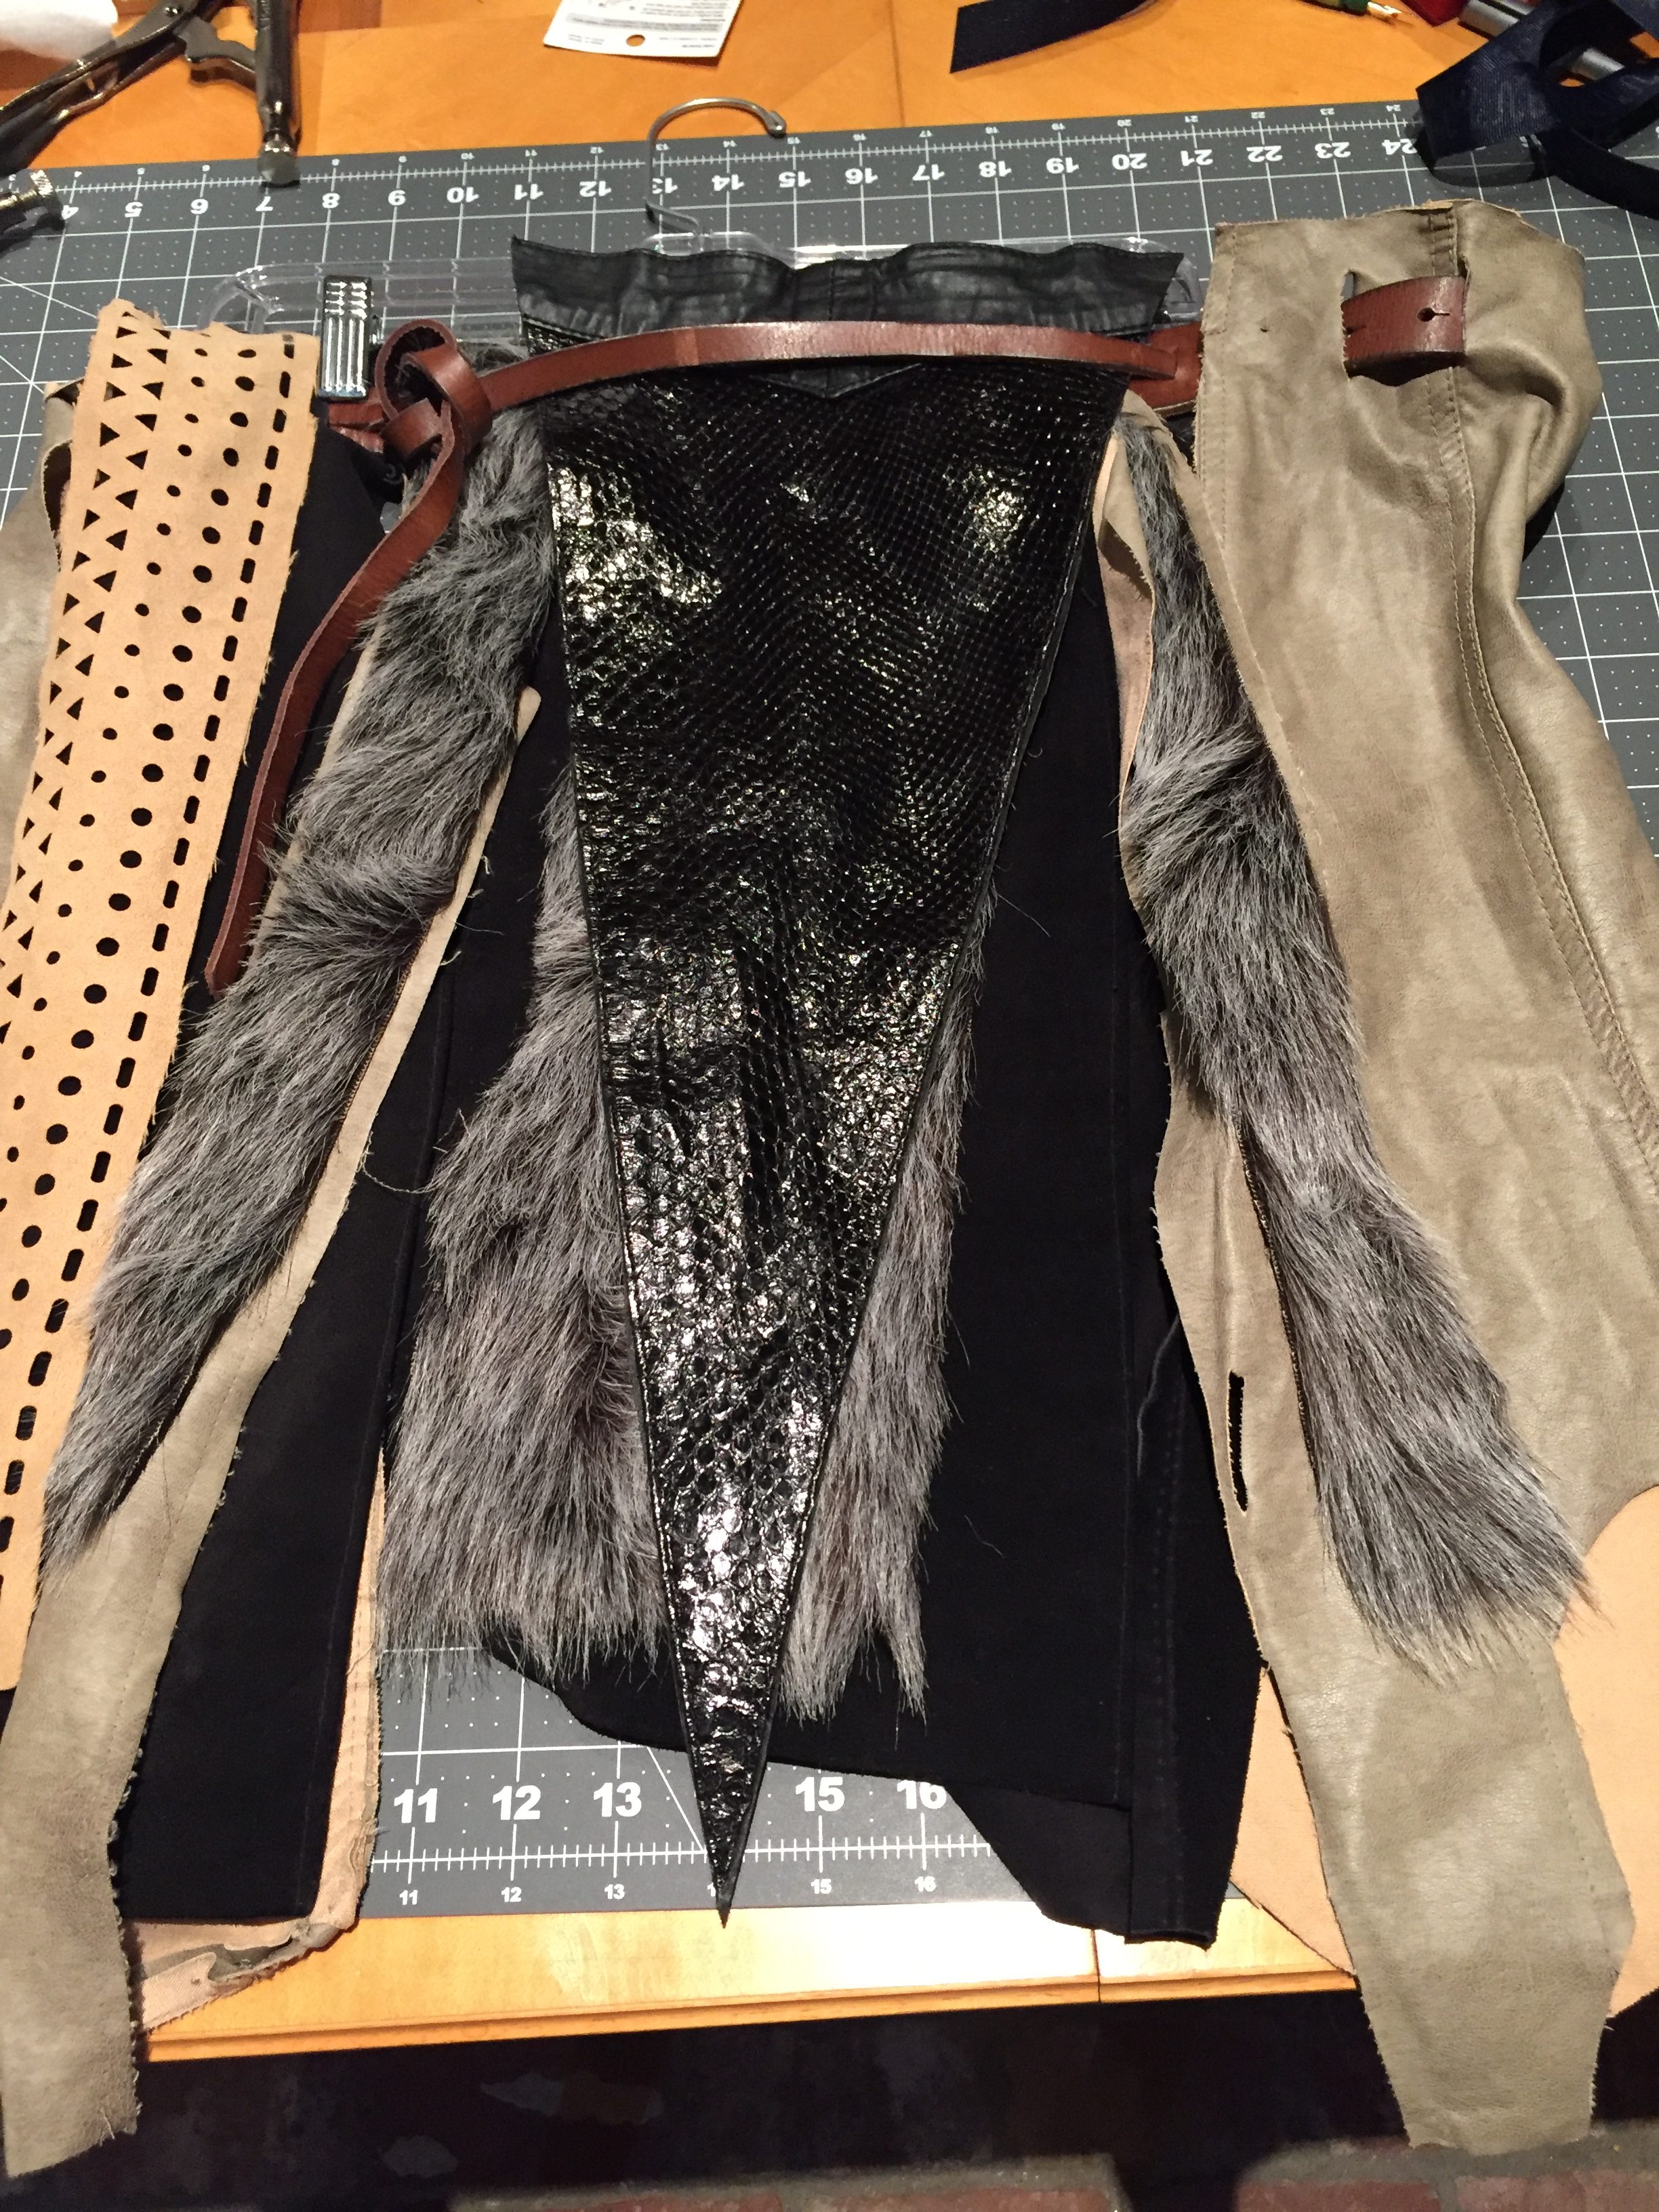
Armor: It’s hard to see in the pic since it blends in with my clothes, but I’m wearing a leather tabard/jerkin as my required physrep for three points of armor. The tabard, in black, is from Larperlei, a German Etsy shop.
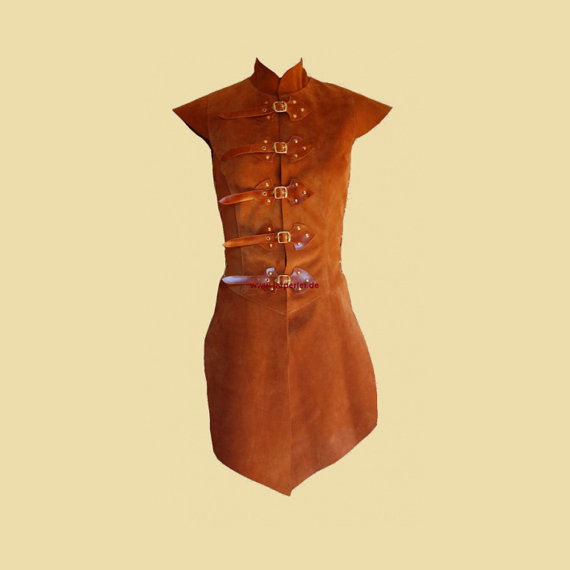
Credit: LarperLei
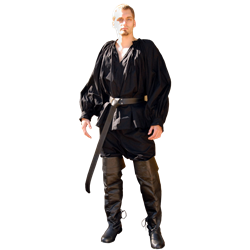
Shirt: In the pics I’m wearing a black shirt from The Pirate Dressing (I think it’s the Cap’n Quincy?), similar to one I already own, but which my husband stole for this event *looks meaningfully*. I ended up borrowing a larger size of the shirt from my friend Chris S, who conveniently plays one of the Veiled (a.k.a black-clad undead) in 5G Silverfire.
My other shirt for this event is a “Classic Renaissance Shirt” from Sofi’s Stitches via Medieval Collectibles.
Credit: Medieval Collectibles
Trousers: in the picture I’m wearing a pair of black breeches from Sofi’s Stitches via Medieval Collectibles.
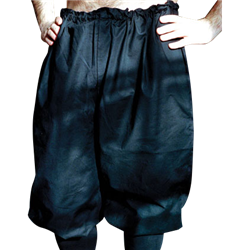
Credit: Medieval Collectibles
I also have a pair of (voluminous!) Viking Linen Trousers from Armstreet, also in black.
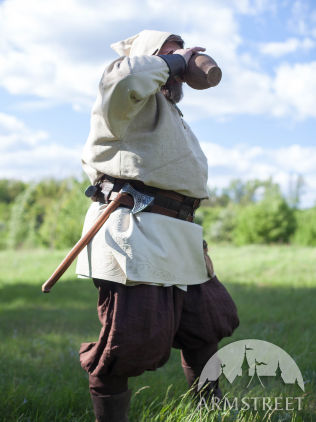
Credit: Armstreet
Boots: Are my usual larp boots: Men’s Black Leather Knee High Renaissance Boots, from House of Andar.

Credit: House of Andar
Belt: This is my typical belt for larping, the 2.5″ Ladies Warrior Belt from Ravenswood Leather, with buckled pouch (something similar to the Corsair Satchel, though looped) and two Noble Jack Sword Frogs.
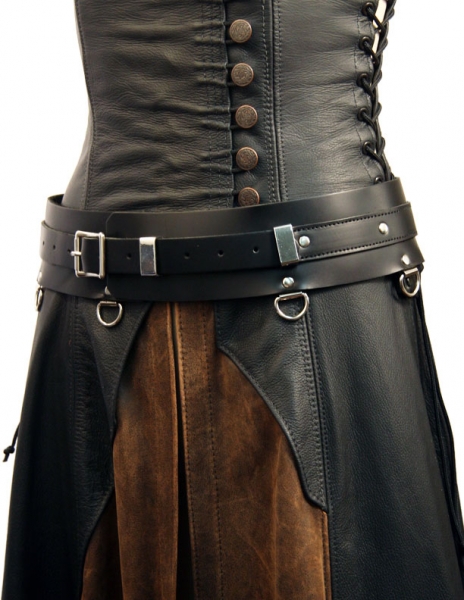
Credit: Ravenswood Leather
Swords: two 46″ longs from B3 Imagination Studio, i.e. Ben Becker’s company. I went for the custom sword design, opting for the angled tip, the flat sides, a round pommel, a wrap showing the phases of the moon, and a silver crossguard in the shape of the crescent moon.